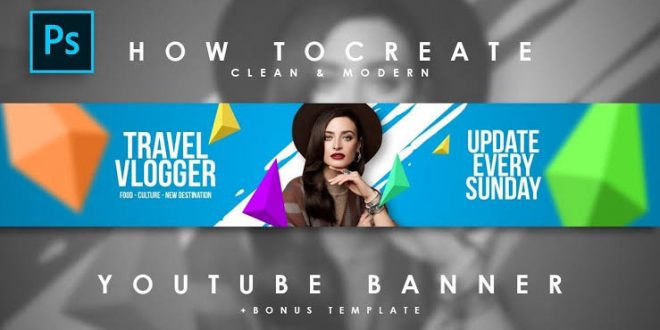
How to create a beautiful ad banner for your website in Photoshop in a few simple steps. We will guide you through the entire creation process from scratch in a few minutes. We will do our best so that at the end you can place it for advertising on almost any site.
Click here : Website Designing Services UAE
STEP 1
Create a banner ad step 1
One of the most basic and common in size is an advertising banner – 300 * 250 pixels. Open Adobe Photoshop and create a new document, the size of which will be so or large, it depends on your desire. I used a simple grunge texture on a gray background.
STEP 2
Create a banner for the site in Photoshop
Using the rectangular tool, or if you have an English version of the Rectangle Tool, create a dark gray rectangle. As we said above, let its dimensions be 300 * 250 pixels. Apply the Outer Glow effect to it and set the color to # 343434
STEP 3
Add a glow effect
Also apply the Inner Glow effect. Even if it seems blurry now, the effect of the inner glow will be a nice feature of your rectangular banner when we finish it.
STEP 4
Step 4 Adding a Gradient
For the entire form of our advertising banner, we apply the so-called seamless (transparent) fragment-gradient. We want it to be barely noticeable, so I set the blending mode to SoftLight with transparency at 5%. I used this pattern from this sample, just download it to my computer.
STEP 5
Rectangular Stroke
We will finish the work with our rectangular advertising banner for the site with a simple stroke effect. It should be only one pixel in size and darker than our main background color for the banner (the color you can set is the one indicated in the picture # 525252)
STEP 6
Create a beautiful banner for the site
Capture any vector decorative set, of which there are plenty on the Internet. Most of them are available on the Internet for free. I used two identical decorative forms, I apply them in the source, which you can download below this article. For our title we will use the font “BebasNeue” with a size of 48 pixels. Apply the Drop Shadow effect to your title, as well as to the decorative shape.
STEP 7
Use the rounded rectangle tool.
Take the Rounded Rectangle rounded rectangle tool, set the radius to 2 pixels and create a shape with dimensions 260 * 125 pixels. Apply the shadow effect to it. You will have to duplicate the form twice and reduce the size of the first by 1%, and the second by 2%
STEP 8
Add text to the banner
Add some text to the form using the “MuseoSlab” font, set the color (# 887e7e). Take any icons 16 * 16 pixels in size, you can from the IconSweets website (just type this name in Google, author’s note) and place them accordingly. Use the LineTool line tool and create two thin lines (color # e6e6e6) that will serve us as text dividers.
STEP 9
Create a new banner area
Returning again to the Rounded Rectangular Area tool, create a red shape (# dc4027). This will be the basis for the call to action button, for example, “Buy,” “Come in,” “Subscribe,” etc. Apply a shadow effect to this shape.
STEP 10
Apply a shadow effect
Apply a subtle inner shadow effect and set the opacity to 15%
STEP 11
Gradient overlay effect
Apply Gradient Overlay Blend Mode Soft Light gradient blending effect and set the opacity to 35%
STEP 12
End the call to action button
End the call to action button with a stroke. Set the fill type of the gradient so that the darker color falls on the lower part of the button and is lighter for the upper half.
STEP 13
Stroke the call to action button
Here we will again use the “BebasNeue” font to add text to our button. It can be absolutely anything, I chose “Register” (SignUp). Add the Drop Shadow effect to the text.
STEP 14
Advertising banner for the site is ready.
So that is all! Now our beautiful advertising banner for the site in Photoshop is ready to use and attract new visitors to the pages.
For more information visit our website Digital Marketing Services in UAE.
 Universal Bloggers


